Using Argo CD
Creating Kubernetes resources using kubectl apply -f can be inefficient. As a developer, managing resources based on code stored in Git enhances control and traceability. Argo CD is integrated to provide a seamless GitOps experience, streamlining your deployment process.
Create Kubernetes resources with Argo CD
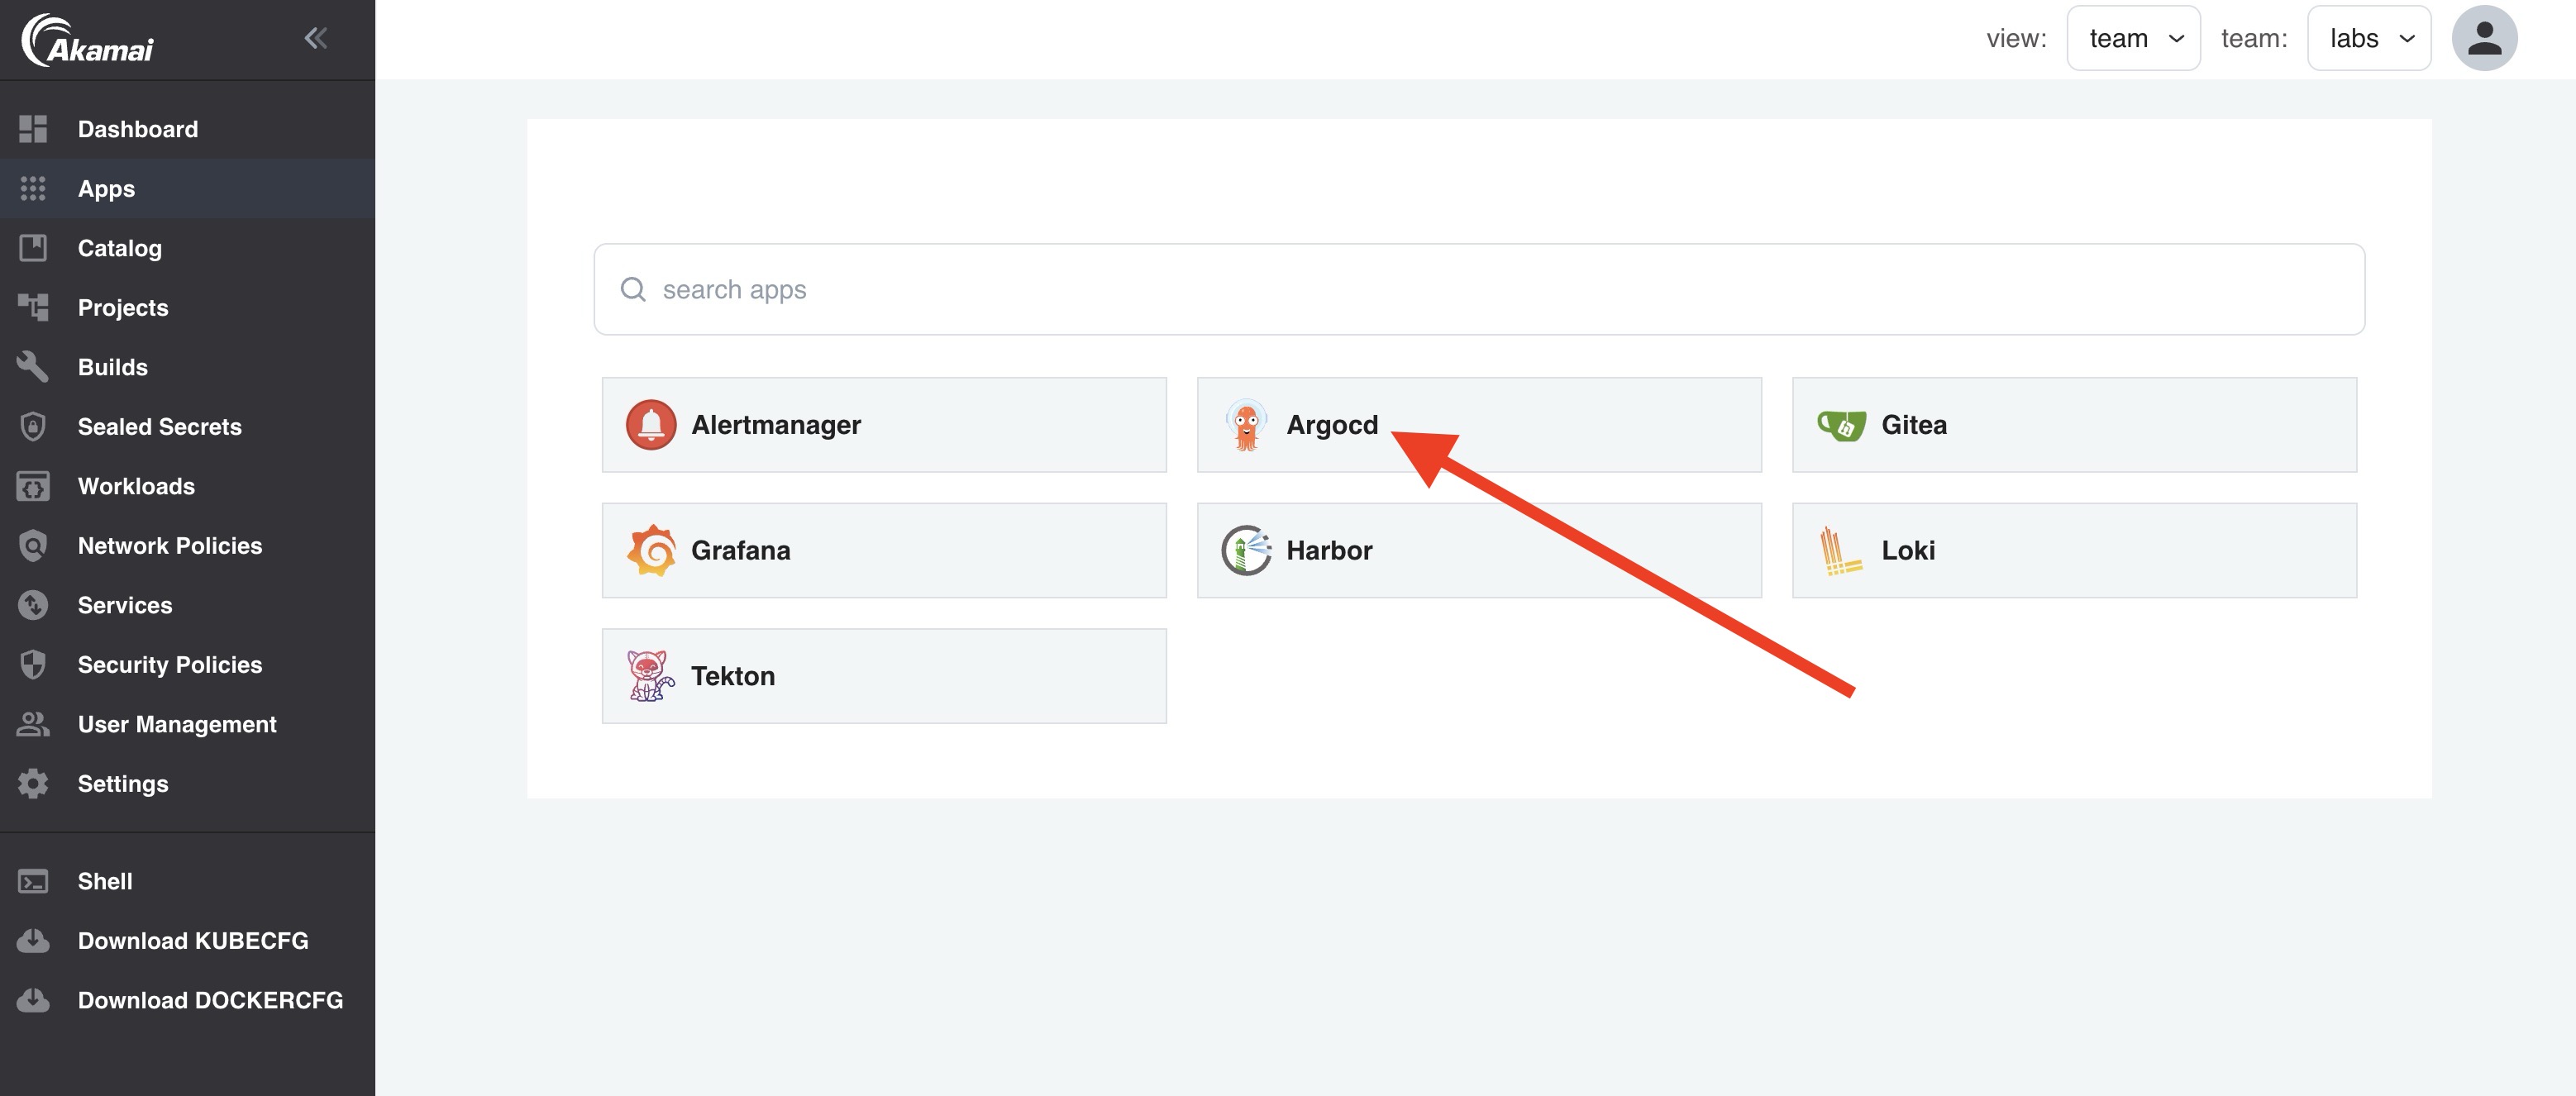
Start by navigating to the apps section in the Console, where you will find an app named Argo CD. Click on it to proceed.

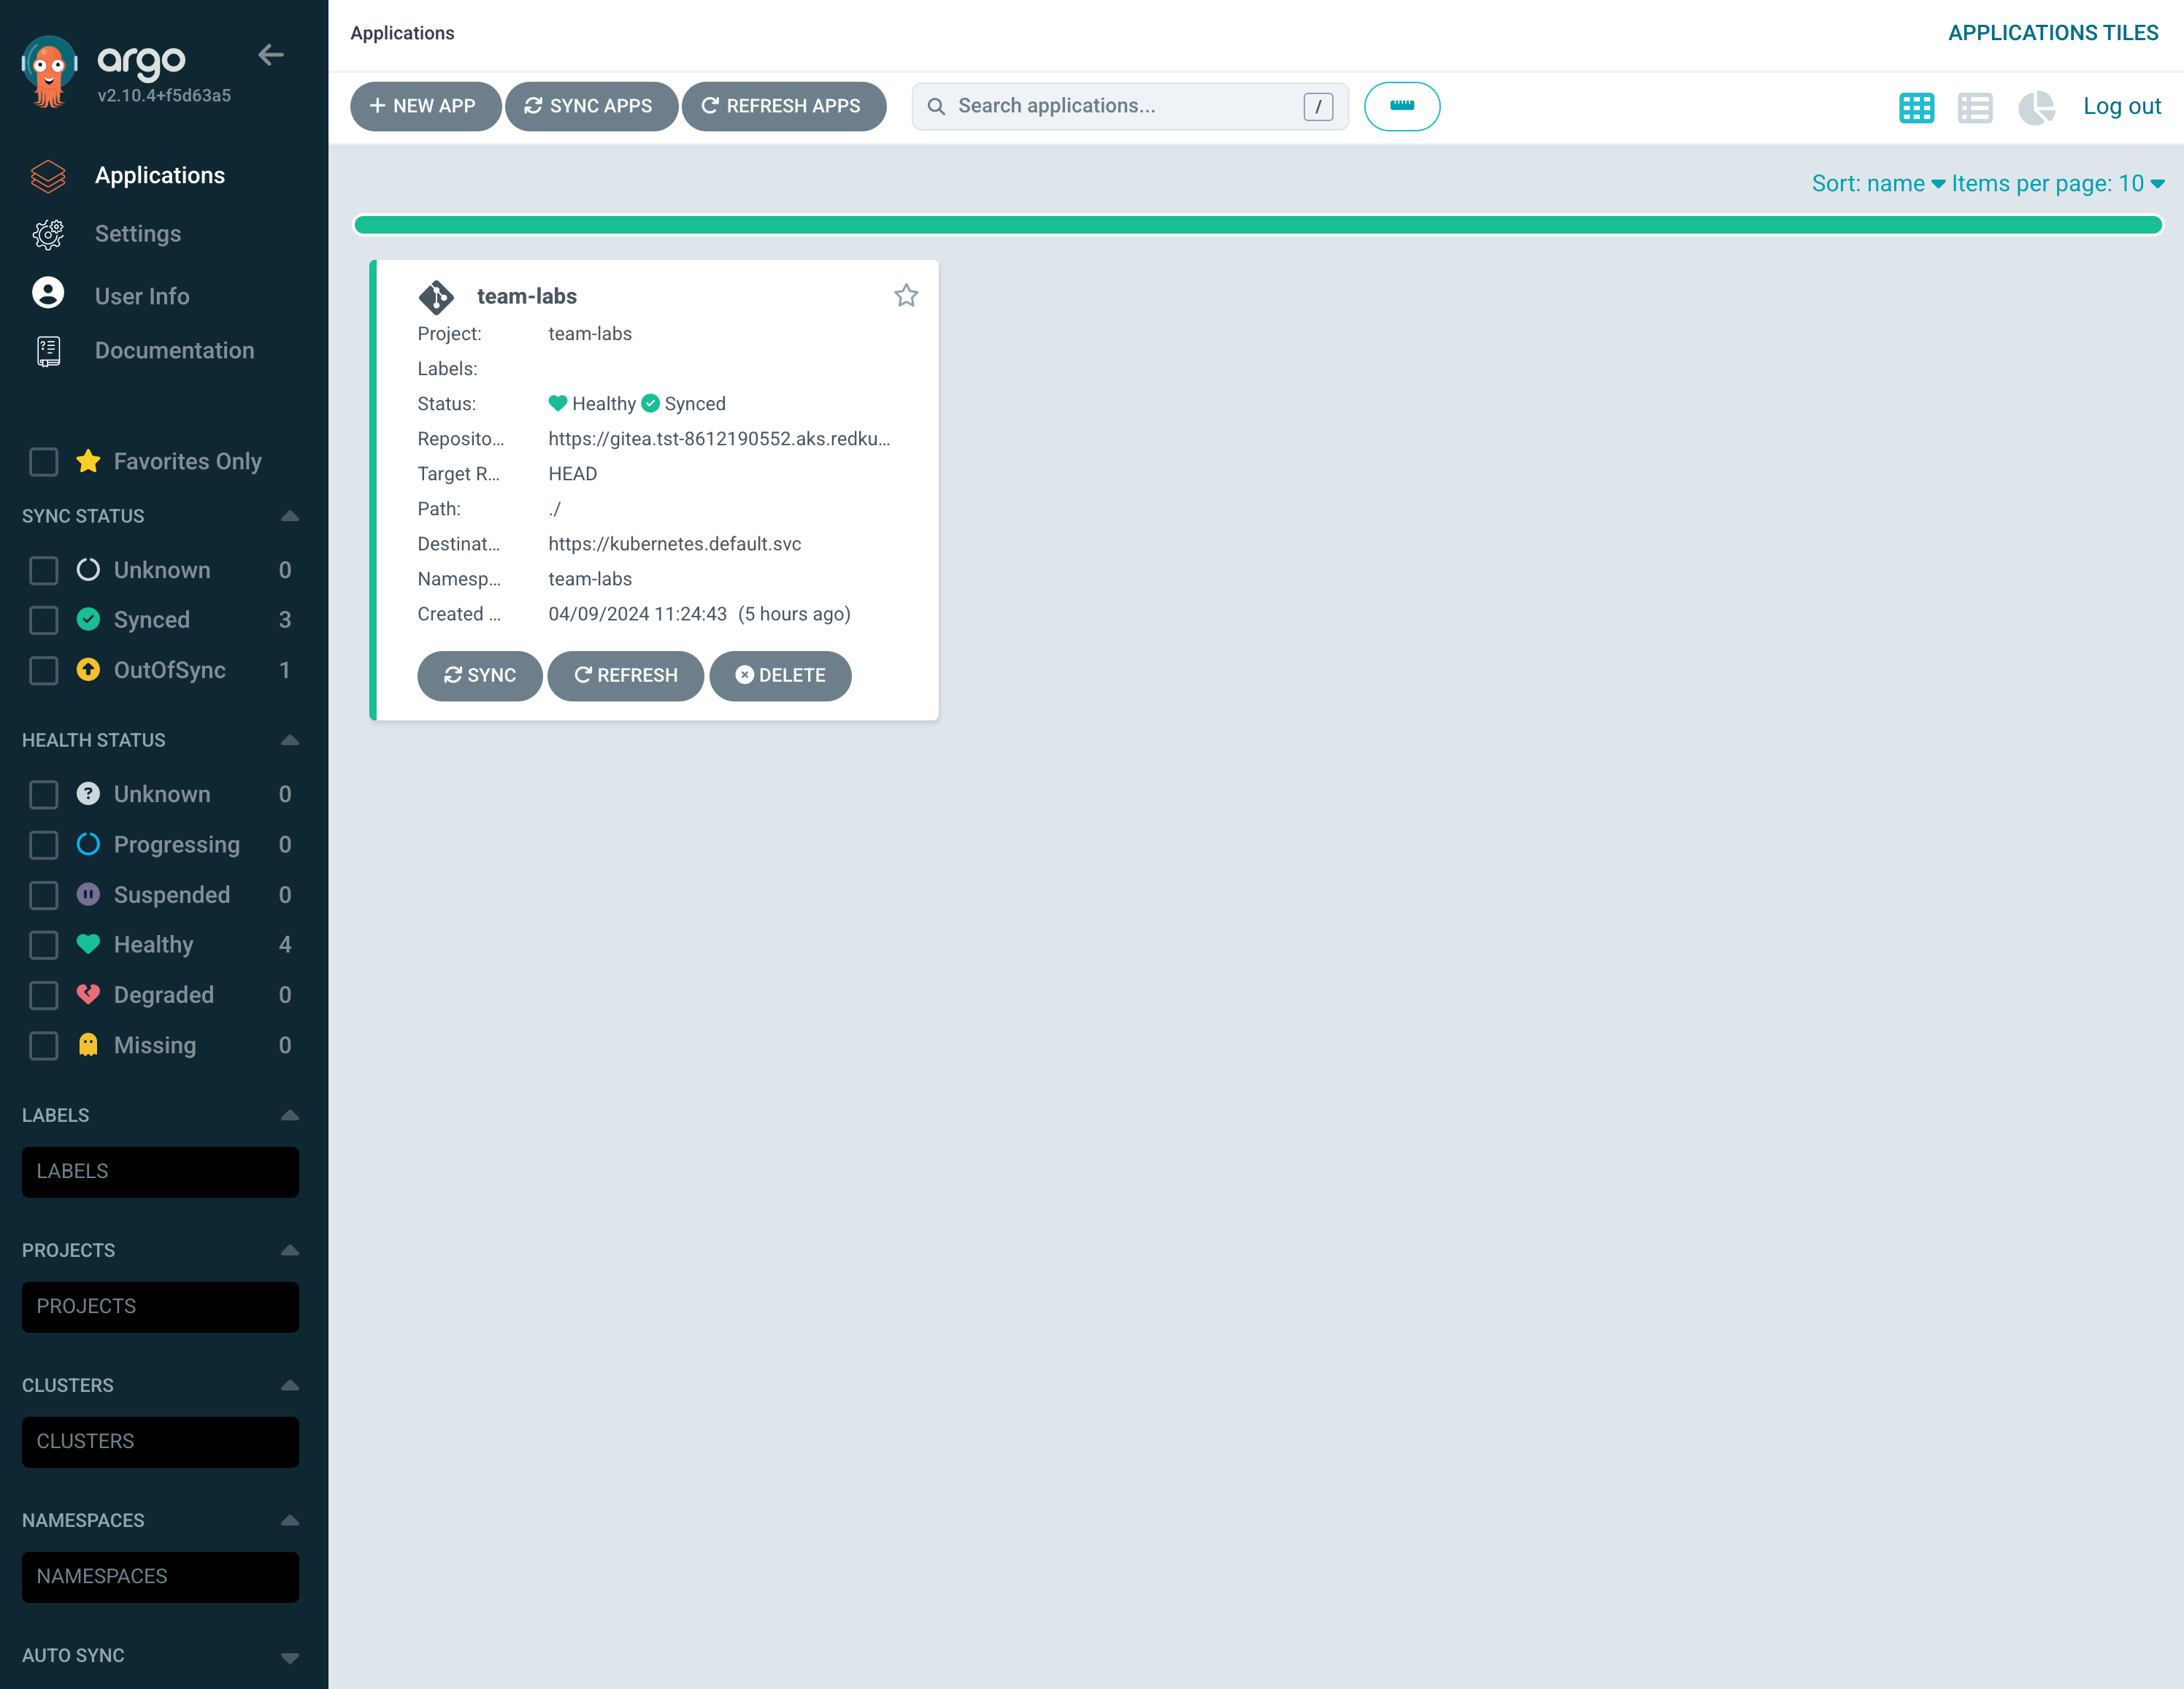
In Argo CD, notice that an application specific to your team has already been set up. This application syncs with any manifest present in the Gitea repository designated for your team.

After clicking on the app and selecting DETAILS in the top left menu, you'll find the REPO URL in the SUMMARY section.
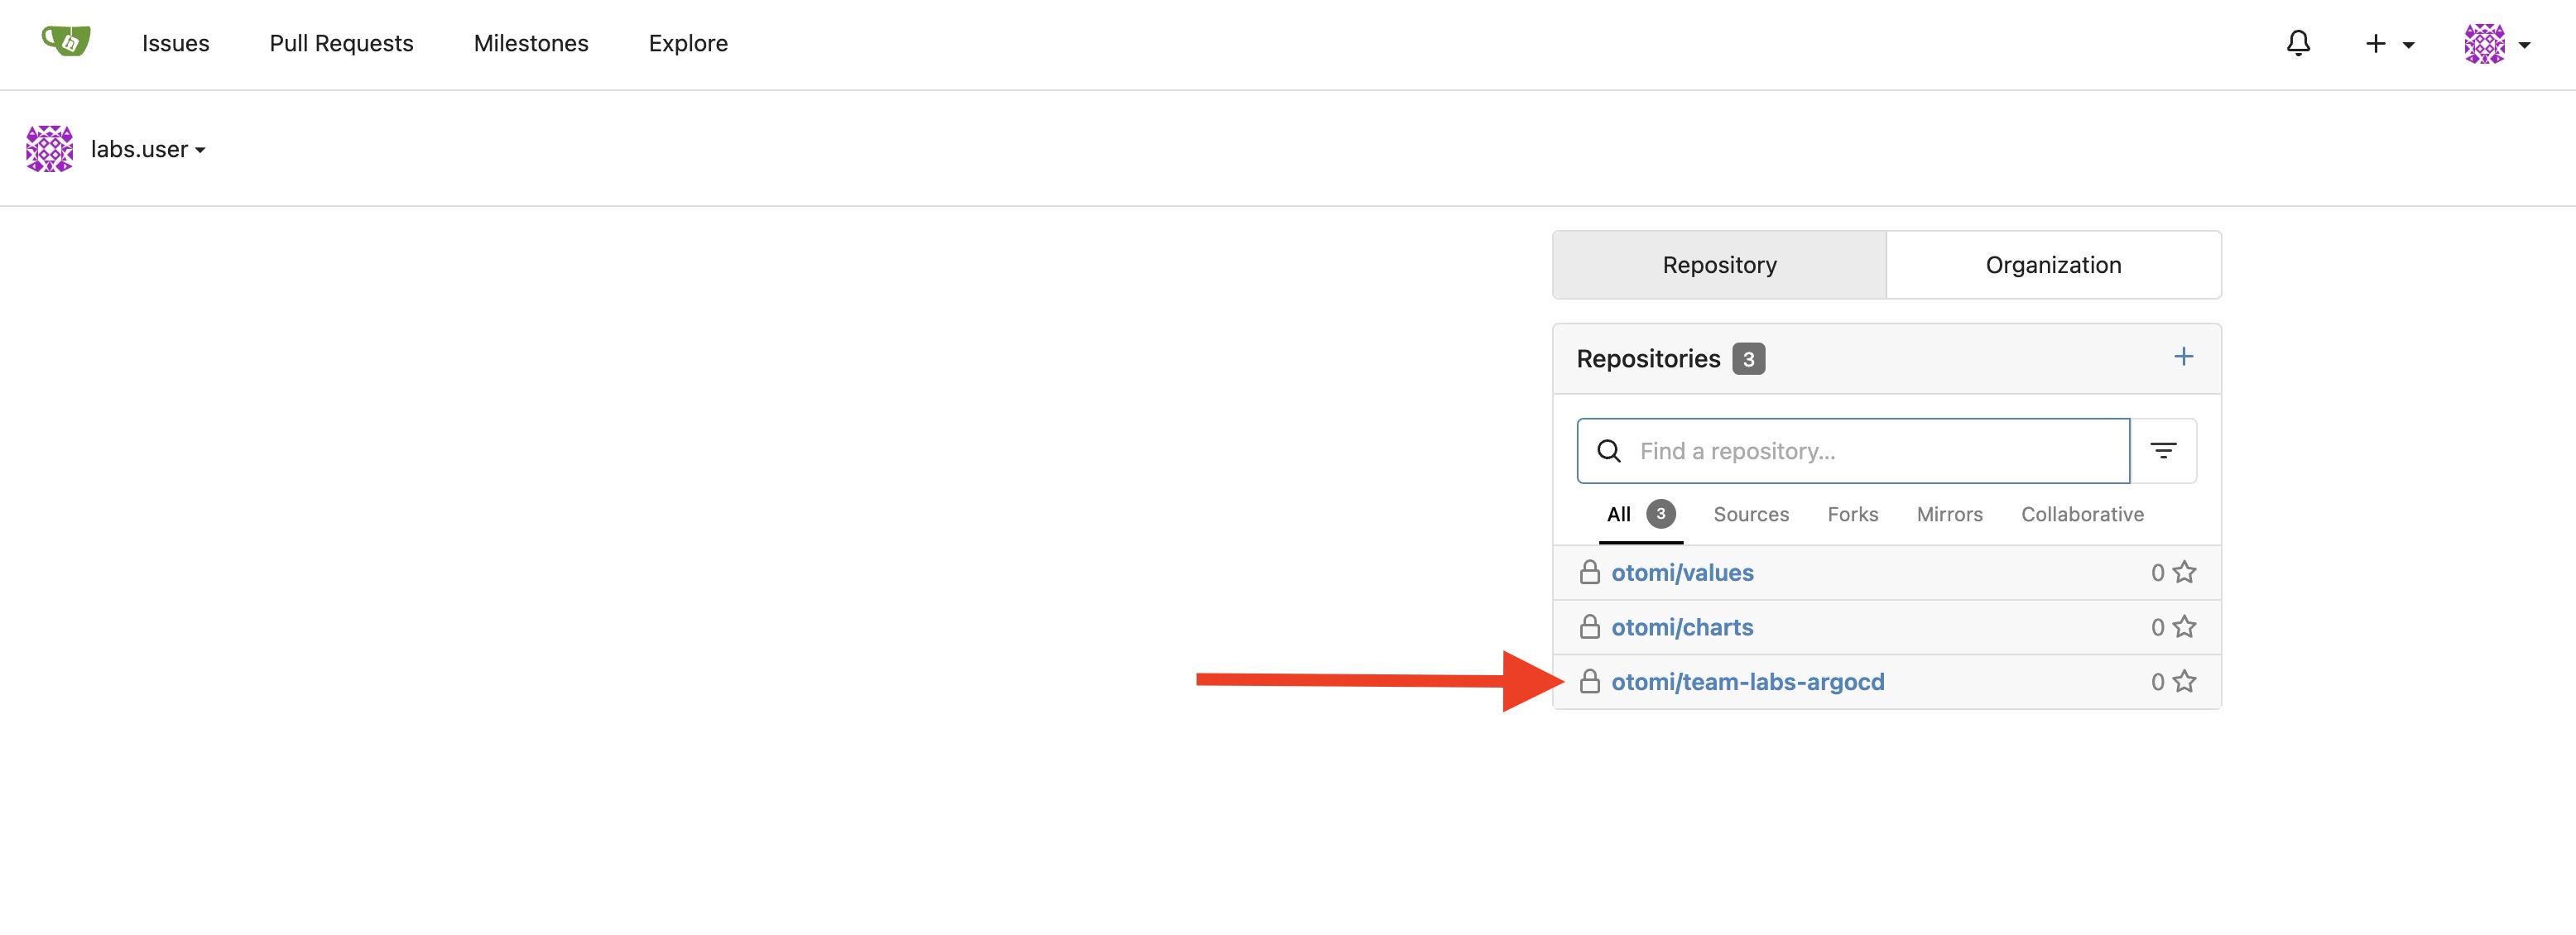
Return to the Console, select the Gitea app in the apps section. In Gitea you will see a repository titled otomi/team-<name>-argocd.

See the Power of Argo CD in action
Let's demonstrate the capabilities of Argo CD by adding some manifests to the repository:
-
Create a file named
deploy-nginx.yamlin the repositoryotomi/team-<name>-argocd. -
Insert the following contents into the file:
apiVersion: apps/v1
kind: Deployment
metadata:
  name: nginx
  labels:
    otomi.io/app: nginx
    app: nginx
spec:
  replicas: 1
  selector:
    matchLabels:
      app: nginx
  template:
    metadata:
      labels:
        app: nginx
    spec:
      containers:
        - name: nginx
          image: nginxinc/nginx-unprivileged:stable
          resources:
            limits:
              memory: '128Mi'
              cpu: '200m'
            requests:
              memory: '64Mi'
              cpu: '100m'
          ports:
            - containerPort: 8080
---
apiVersion: v1
kind: Service
metadata:
  name: nginx
spec:
  selector:
    app: nginx
  ports:
    - port: 80
targetPort: 8080 -
Commit the changes to the repository.
Once you return to the Argo CD application, click on the team-<name> application.
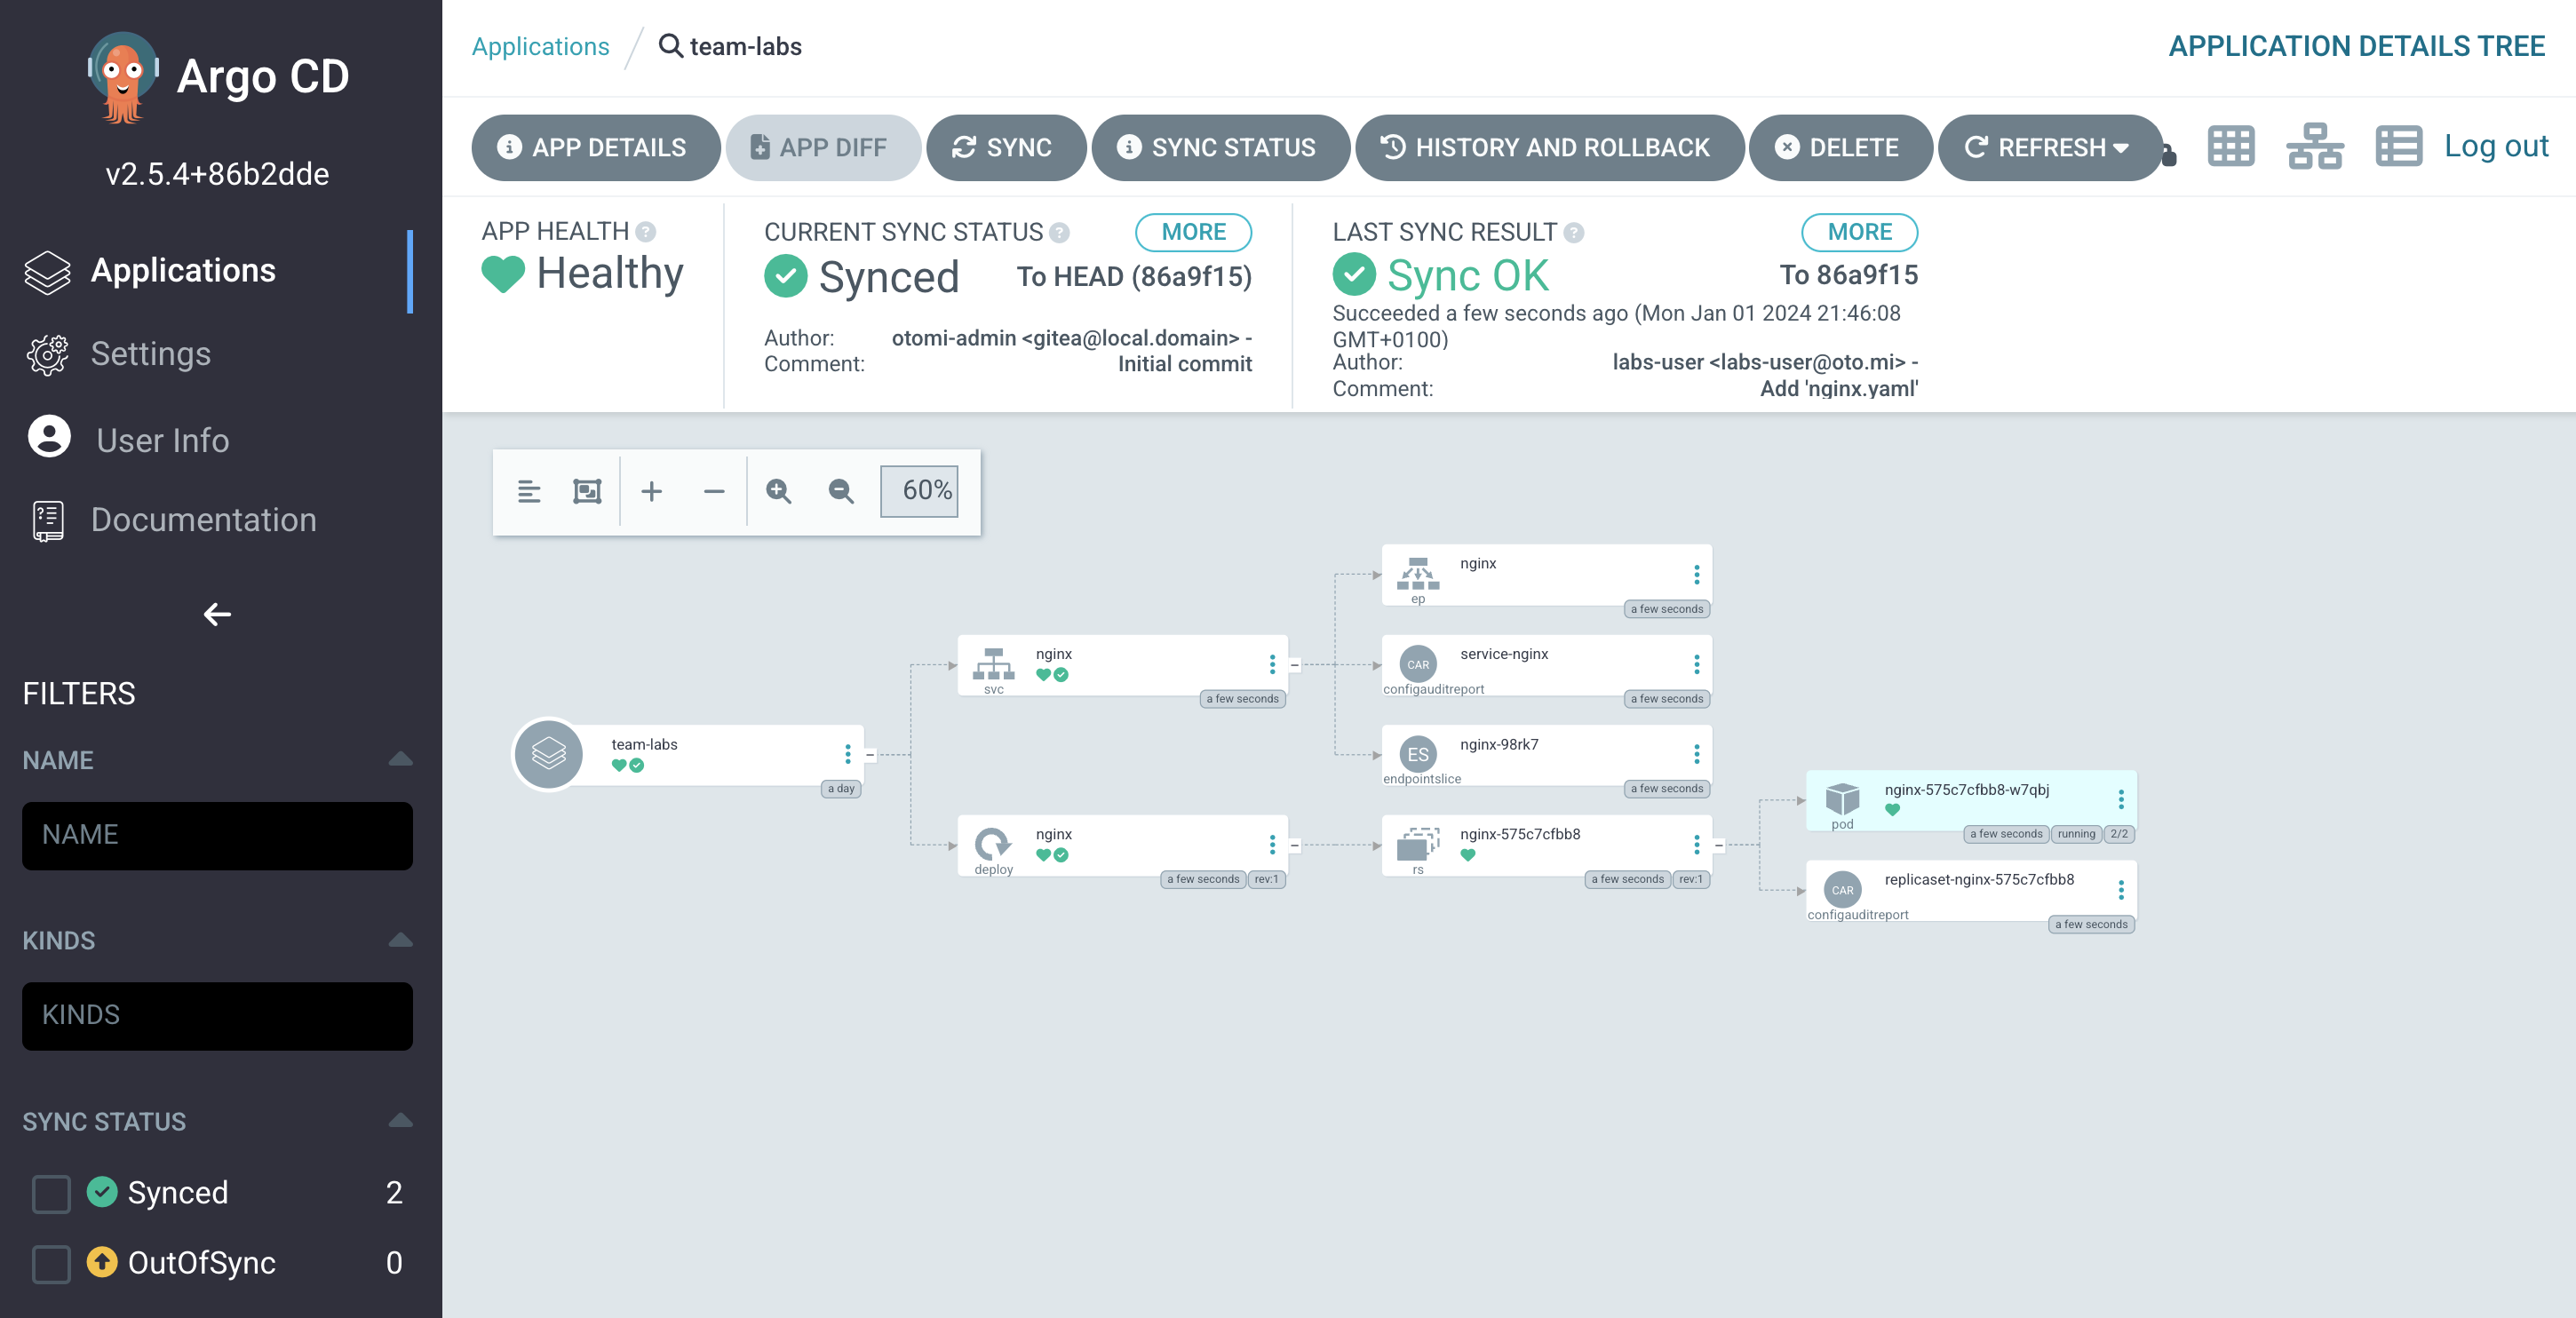
The application is set to sync automatically, so a manual SYNC is not required. Once ArgoCD completes the sync, the nginx deployment will appear as shown below:
